For details of
a proper hydraulic disk set-up for your Lambretta, click
here
These pages assume you
already have some mechanical knowledge and experience of working
with Lambretta engines. The disk brake has already been
disassembled. For reference click
here
for an exploded disk brake diagram.
NOTE: There are 2 sets of disk type fork links available. The
angles cast into the middle section are different, being
approximately 100 and 130 degrees. TV series 2 have a 30 degree
difference in rake compared to all others.
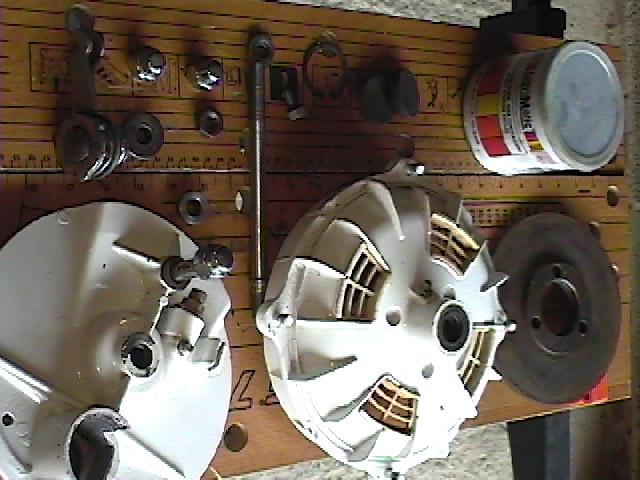
1.
Tools & new parts you'll need for the job include; high
melting point grease, brake pads (newfren) two new hub bearings (6201)
and oil seals, back plate oil
seal and disk nut adjuster retainer plate. Apparently brake pads
from a Citroen will fit with a bit of work.
10.
Drop the new disk pad into the back plate recess. The steel
back of the pad faces you!
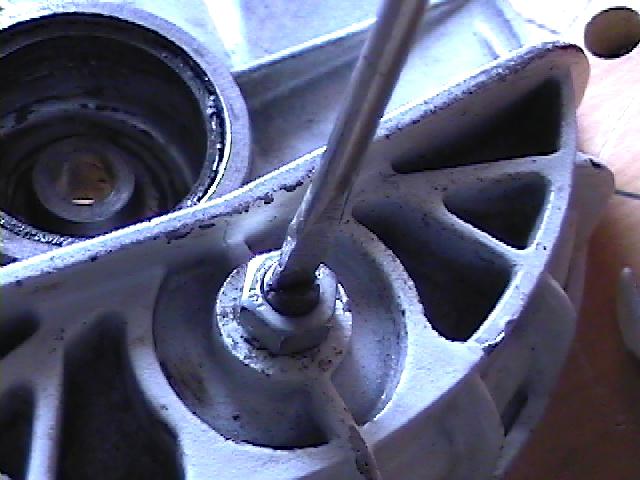
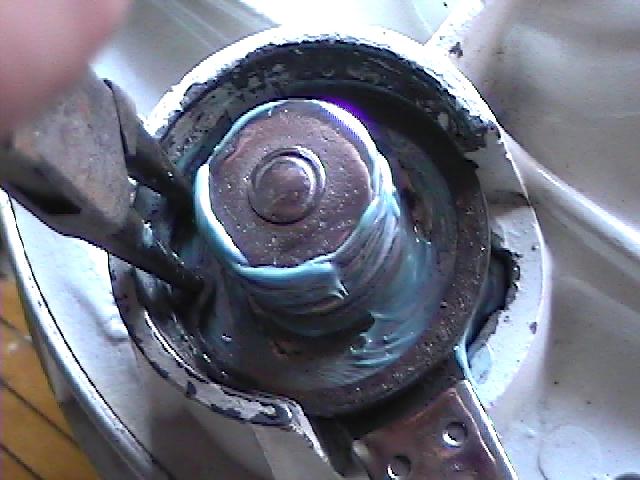
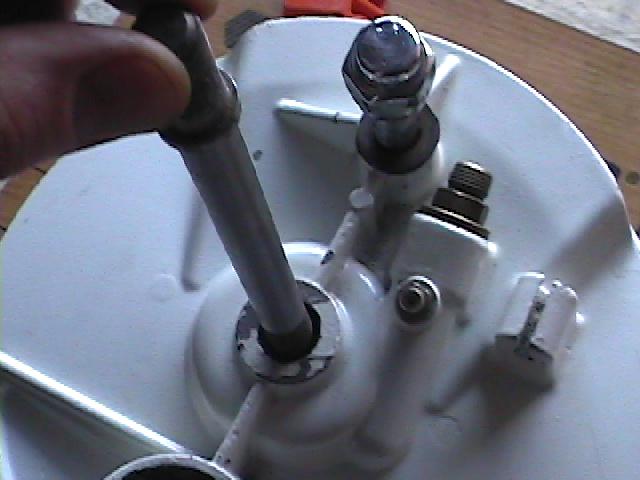
2. Undo
the main shaft nut and remove the disk spindle. This will only come
out one way. The adjust
out the disk pad nut using an allen key. Note the nut would
normally have a securing plate behind it which you'd replace.
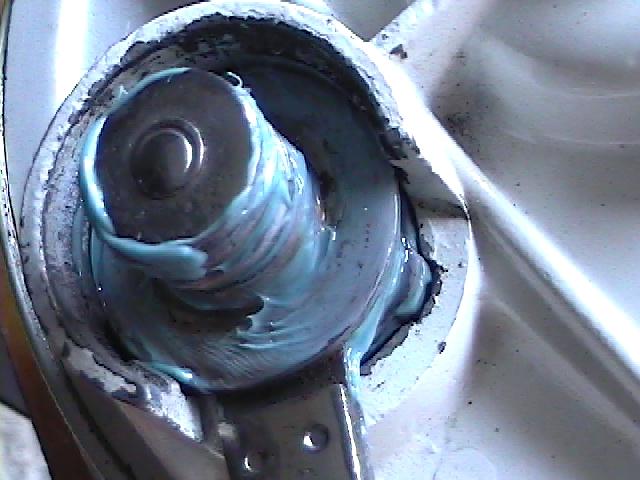
11.
Once the adjuster mechanism has been cleaned and the ball bearings
are correctly seated in their respective recesses, then apply plenty
of grease to the actual mechanism itself and drop in.
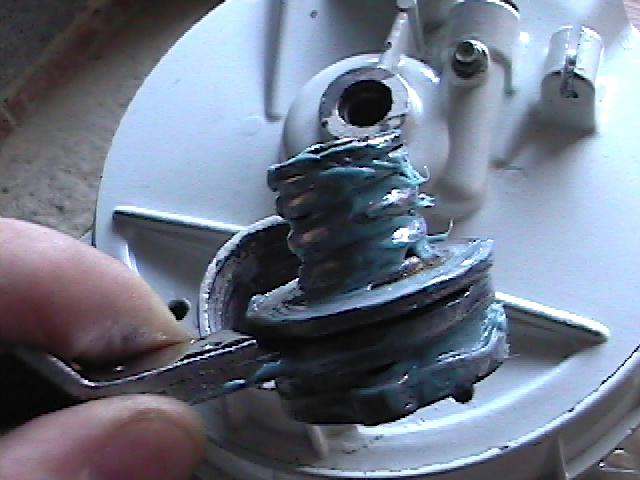
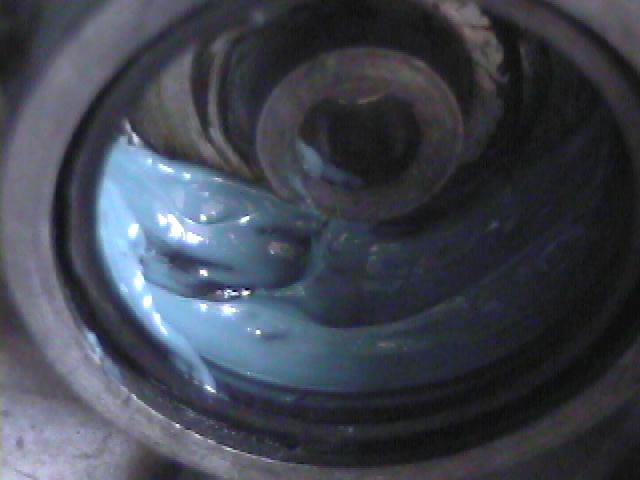
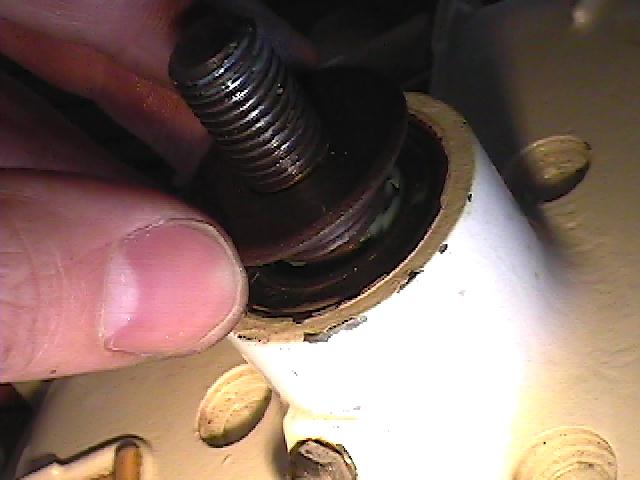
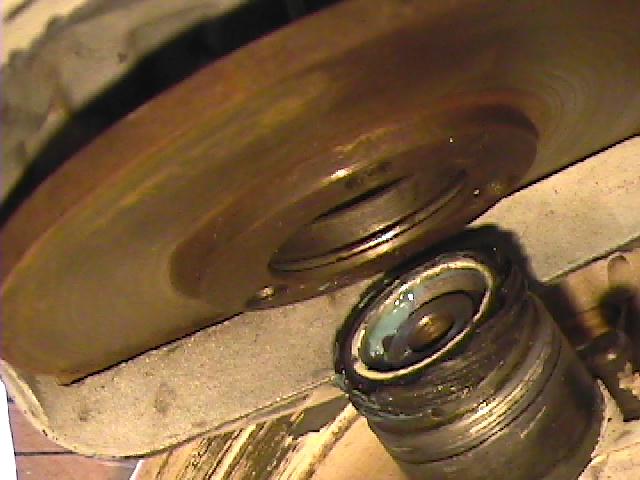
3.
Once the disk has been opened up the disk itself can be removed
(may/may not have a circlip holding it in place - these used to be
impossible to find!) This is looking into where the other disk pad sits
and you ca see the above adjuster nut. Drop a new pad in here with
the steel face going towards the screw thread.
12. Again
this will only fit in one way and should be a good fit.
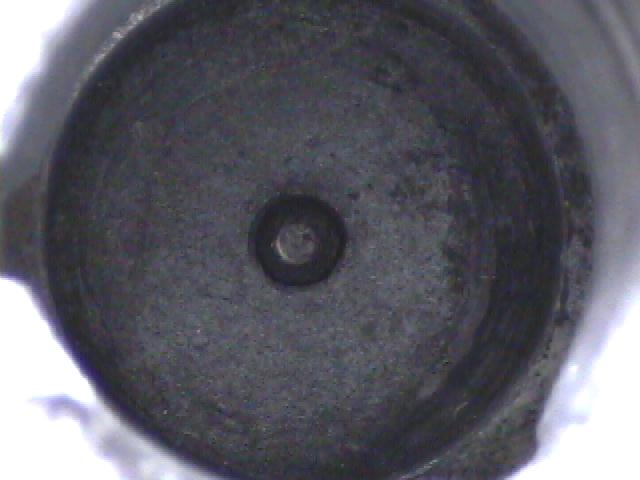
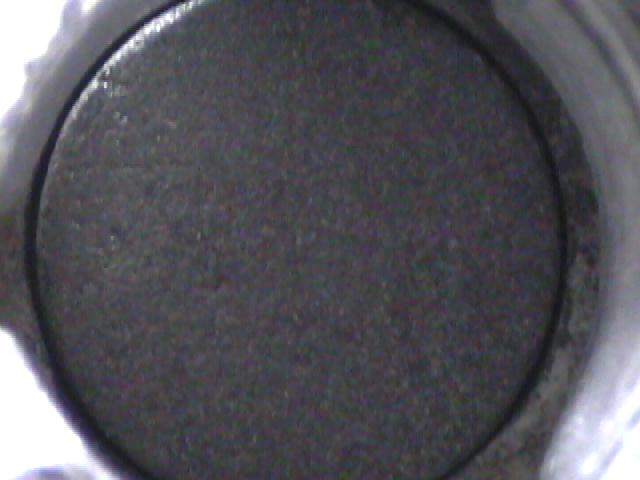
4. Very
uninteresting picture of the disk pad that is moved by the actuater.
Again this just drops into the hole in the casting (see picture 10)
13. It's
important the key way for the circlip is in good condition and
ensure this is seated correctly. Although hydraulic conversions are
available these normally use a screw thread. I have seen hydraulic
conversions that use the circlip.
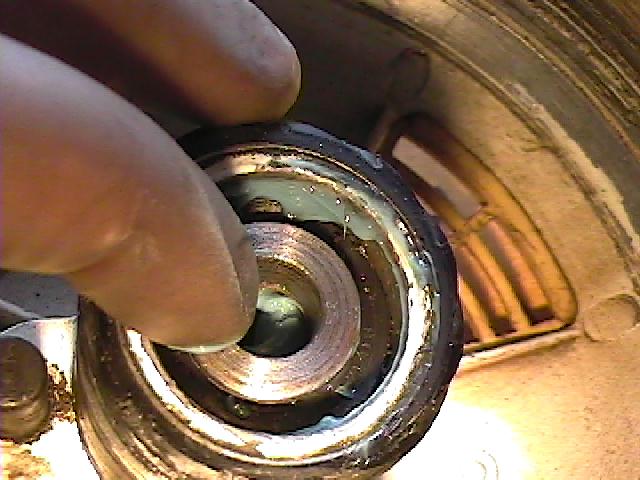
5.
Once checked or replaced apply plenty of grease to the speedo drive
gear and replace the oil seal.
14.
Insert the disk spindle, again will only go in one way!
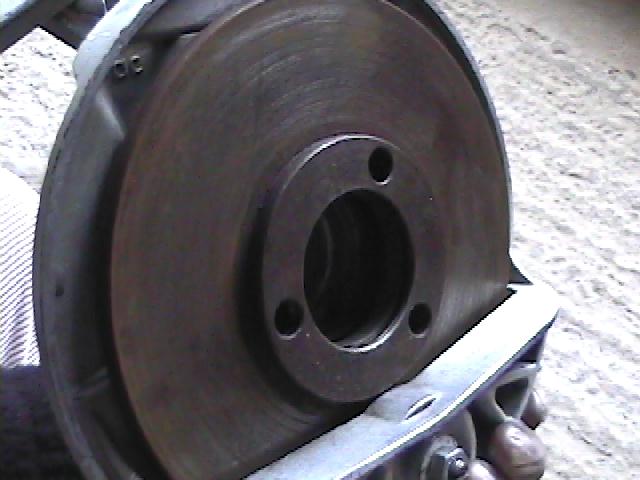
6.
Fit the disk this way round. The holes will also only allow the disk
to be fitted one way.
NOTE: Never get any grease
or oil on the disk brake surface or pads.
15.
Reassemble the components for the spindle including top hat and
washers.
7.
Another uninteresting picture of the speedo drive and oil seal with
the disk in place.
16.
Don't over tighten the spindle nuts, correct torque setting is
5.5 – 5.6 kg-m.
8.
Once bearings and seals have been replaced fit the top hat and
spacer. Bearings and seals are dead easy to replace on the Lambretta
front disk brake.
17.
Fit the plastic or metal disk windows.
9.
This is just a bodgers/riders way of doing this as I did not have/do
not use the circlip that holds the disk to the pegs! Bring the two
halves together and the disk may have to be rotated through the
windows until it's seated on the corresponding pegs.
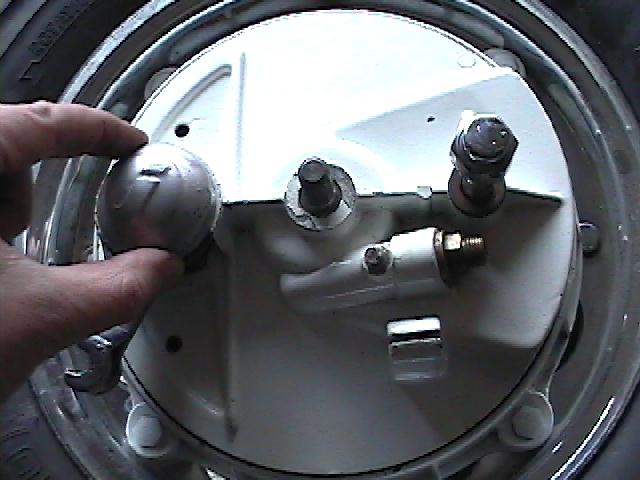
18.
Fit the Innocenti "I" cap and your all done. Refit
assembly to the fork links and tighten the fork link nut and bolt to
5.5 – 5.6 kg-m.


