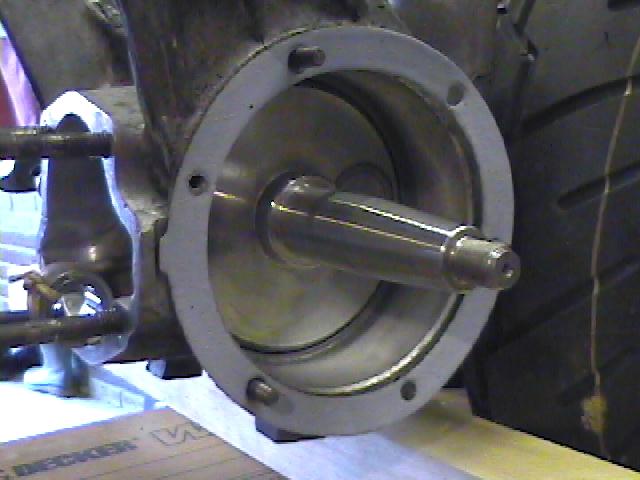
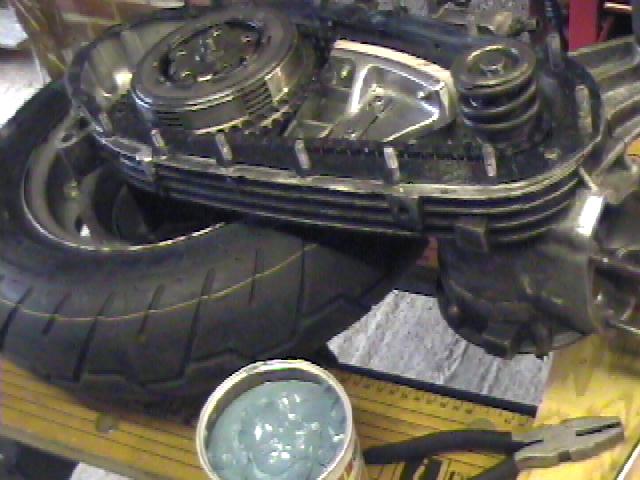
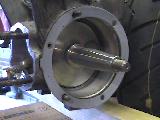
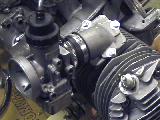
 17. Fit a gasket to the magneto side of the
engine casing, apply some grease to the oil seal & crank shaft
taper, slide on the newly rebuilt
magneto side casing & tap it gently home. 17. Fit a gasket to the magneto side of the
engine casing, apply some grease to the oil seal & crank shaft
taper, slide on the newly rebuilt
magneto side casing & tap it gently home. |
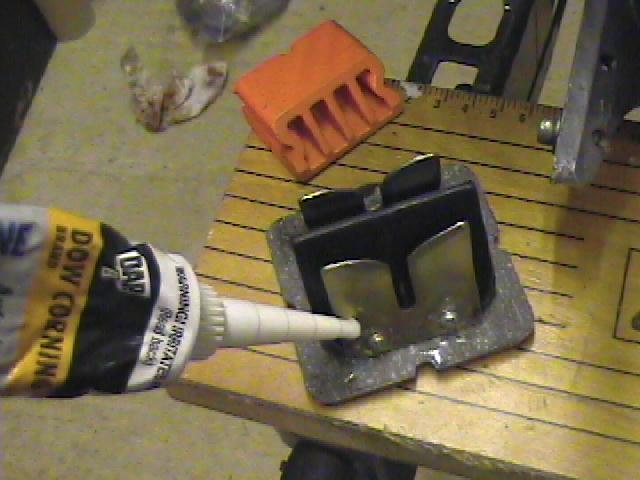
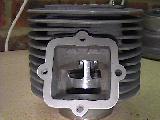
 25. Once
the reed valve is installed, smear some silicone sealant to
the face of the reed valve assembly & onto the face of the next gasket. 25. Once
the reed valve is installed, smear some silicone sealant to
the face of the reed valve assembly & onto the face of the next gasket.
|
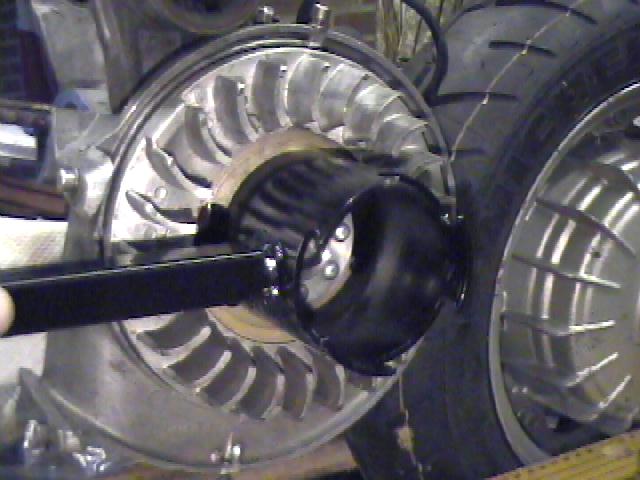
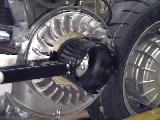 18.
Once the electronic ignition has been installed (click
here) Fit a new woodruff key & tighten the flywheel to 50lbs/ft using the flywheel holding tool &
the correct sized socket. Try not to use a screwdriver
jammed between the fins! 18.
Once the electronic ignition has been installed (click
here) Fit a new woodruff key & tighten the flywheel to 50lbs/ft using the flywheel holding tool &
the correct sized socket. Try not to use a screwdriver
jammed between the fins! |
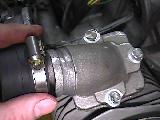
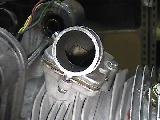 26. Bolt
down the inlet manifold using the supplied 7mm bolts. Note the thin
headed bolt faces the back of the engine. This may need filing down to ensure it clears the
frame. 26. Bolt
down the inlet manifold using the supplied 7mm bolts. Note the thin
headed bolt faces the back of the engine. This may need filing down to ensure it clears the
frame. |
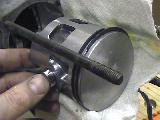
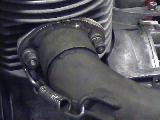
 19.
Apply some oil to the small end bearing & when fitting the
piston ensure any mark or arrow is pointing towards the exhaust
port (piston crown & exhaust port shown) 19.
Apply some oil to the small end bearing & when fitting the
piston ensure any mark or arrow is pointing towards the exhaust
port (piston crown & exhaust port shown) |
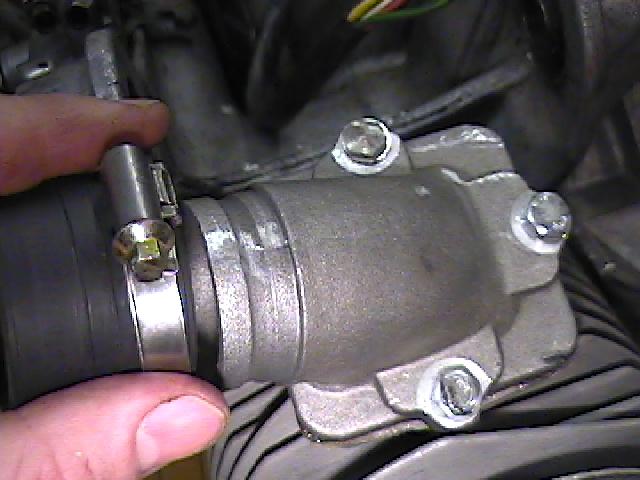
 27. Install
the mounting rubber onto the manifold & secure by tightening the
jubilee clip. 27. Install
the mounting rubber onto the manifold & secure by tightening the
jubilee clip. |
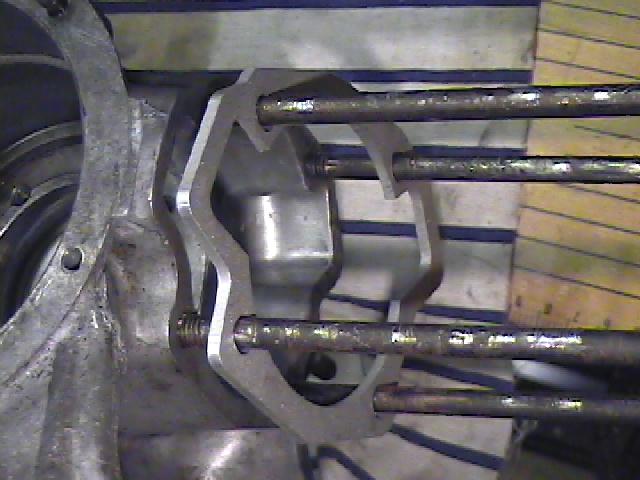
 20.
There are tools available for holding the conrod steady. If the
gudgeon pin is anything other than a snug fit then either get the
above tool or heat up the piston a little. 20.
There are tools available for holding the conrod steady. If the
gudgeon pin is anything other than a snug fit then either get the
above tool or heat up the piston a little.
|
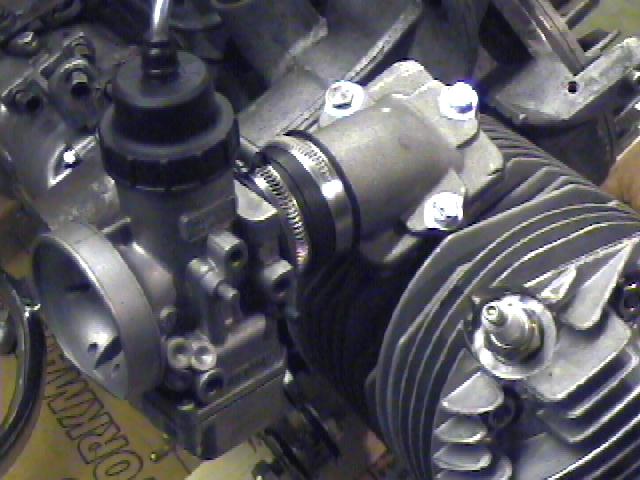
 28. Now
fit the carb & the other jubilee clip. Ensure these are
accessible when the engine is fitted in the frame. 28. Now
fit the carb & the other jubilee clip. Ensure these are
accessible when the engine is fitted in the frame. |
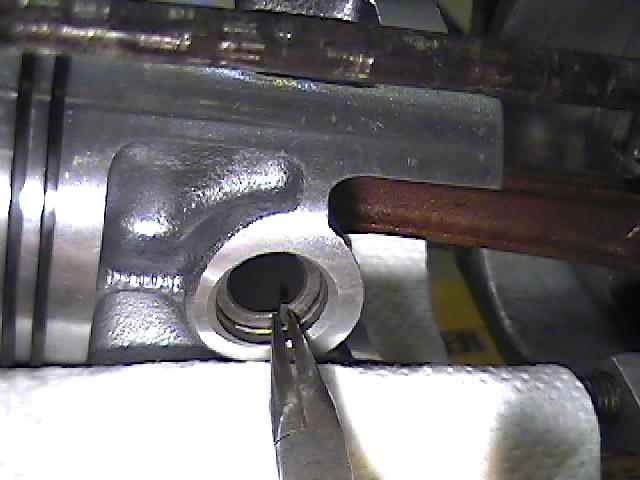
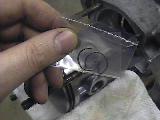 21.
Now fit the circlips that hold the gudgeon pin in place. Ensure
these are seated correctly. 21.
Now fit the circlips that hold the gudgeon pin in place. Ensure
these are seated correctly. |
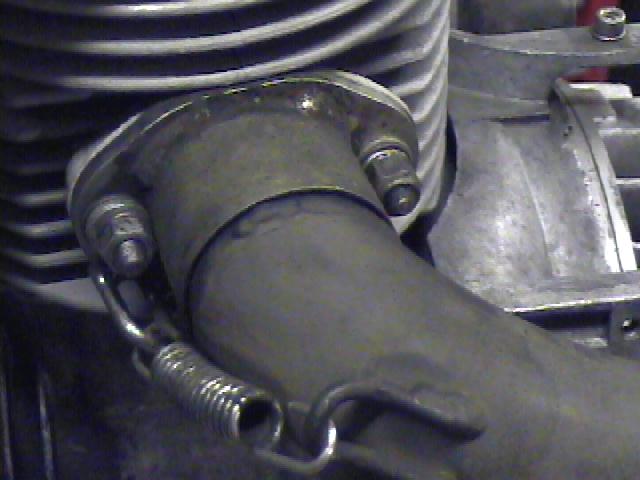
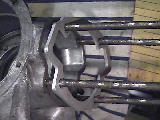
 29. Install
the exhaust gasket, followed by the TS1 exhaust stub, washers &
nuts. Then secure the downpipe (TaffSpeed in this case) with the
supplied springs. 29. Install
the exhaust gasket, followed by the TS1 exhaust stub, washers &
nuts. Then secure the downpipe (TaffSpeed in this case) with the
supplied springs. |
 22.
Not shown here is a thin bead of blue non-setting gasket
compound applied to both faces of the packing plate. With a standard TS1 kit,
use the supplied 0.5mm gaskets (& some grease) or have the base of the
cylinder lowered by a reputable tuning house & fit a 1.5mm
gasket. 22.
Not shown here is a thin bead of blue non-setting gasket
compound applied to both faces of the packing plate. With a standard TS1 kit,
use the supplied 0.5mm gaskets (& some grease) or have the base of the
cylinder lowered by a reputable tuning house & fit a 1.5mm
gasket. |
 30. Ensure
the engine turns freely before fitting the engine side. This may be
tight (not unusual) and could
be difficult due to the compression. 30. Ensure
the engine turns freely before fitting the engine side. This may be
tight (not unusual) and could
be difficult due to the compression. |
 23. Fitting the TS1 barrel is no different to any other.
Rub some two stroke oil around the barrel to lubricate beforehand, ensure the
exhaust port faces down & the piston rings are located in their
grooves. Compress the rings & slide the barrel over the
piston. Fit the cylinder head & either use the supplied gasket
or apply a thin bead of semi
hardening gasket compound (Loctite 574 flange sealant) around both surfaces. Torque the 8mm
nuts to 18lbs/ft. 23. Fitting the TS1 barrel is no different to any other.
Rub some two stroke oil around the barrel to lubricate beforehand, ensure the
exhaust port faces down & the piston rings are located in their
grooves. Compress the rings & slide the barrel over the
piston. Fit the cylinder head & either use the supplied gasket
or apply a thin bead of semi
hardening gasket compound (Loctite 574 flange sealant) around both surfaces. Torque the 8mm
nuts to 18lbs/ft.
|
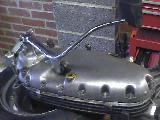 31. Once
your happy apply some grease to both sides of a new chain case gasket & bolt down the engine side
casing with new 6mm and 8mm (chain case exhaust).
Fit the flywheel & cylinder covers with new 5mm nuts, followed by the exhaust
system (7mm nuts) 31. Once
your happy apply some grease to both sides of a new chain case gasket & bolt down the engine side
casing with new 6mm and 8mm (chain case exhaust).
Fit the flywheel & cylinder covers with new 5mm nuts, followed by the exhaust
system (7mm nuts) |
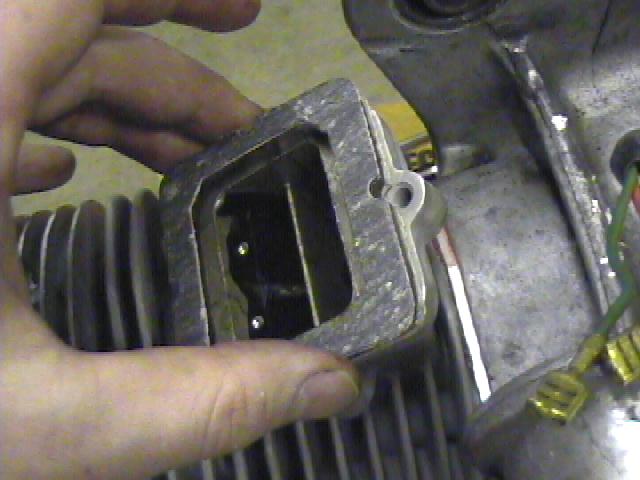
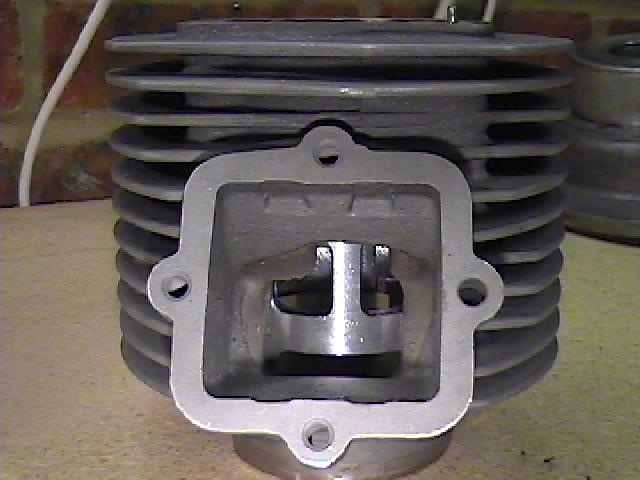
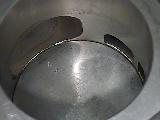
 24. Next
step is to fit the reed valve. Fit one gasket & tighten the
screws holding the petals in place. Apply some marine/auto silicone sealant (petrol resistant) to
hold these in place. 24. Next
step is to fit the reed valve. Fit one gasket & tighten the
screws holding the petals in place. Apply some marine/auto silicone sealant (petrol resistant) to
hold these in place. |
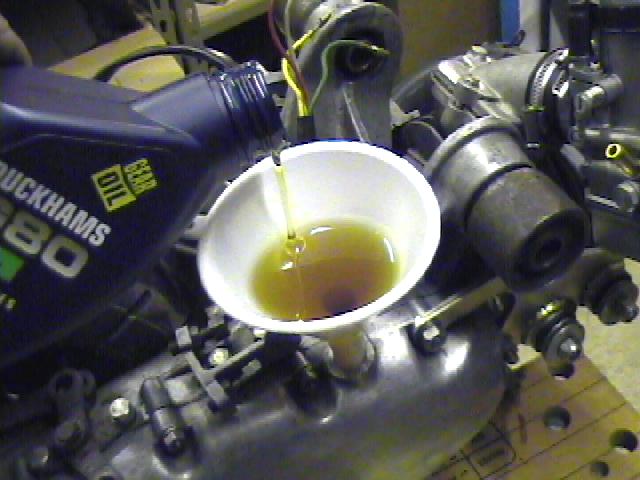
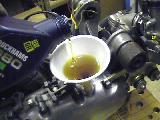 32. Now
add 0.7 litre 32. Now
add 0.7 litre
or 1 1/4 pints of a quality SAE90 gearbox oil. Fit a new NGK B8ES
plug, put the engine back
into scooter, tighten & adjust cables & fire it up.
|